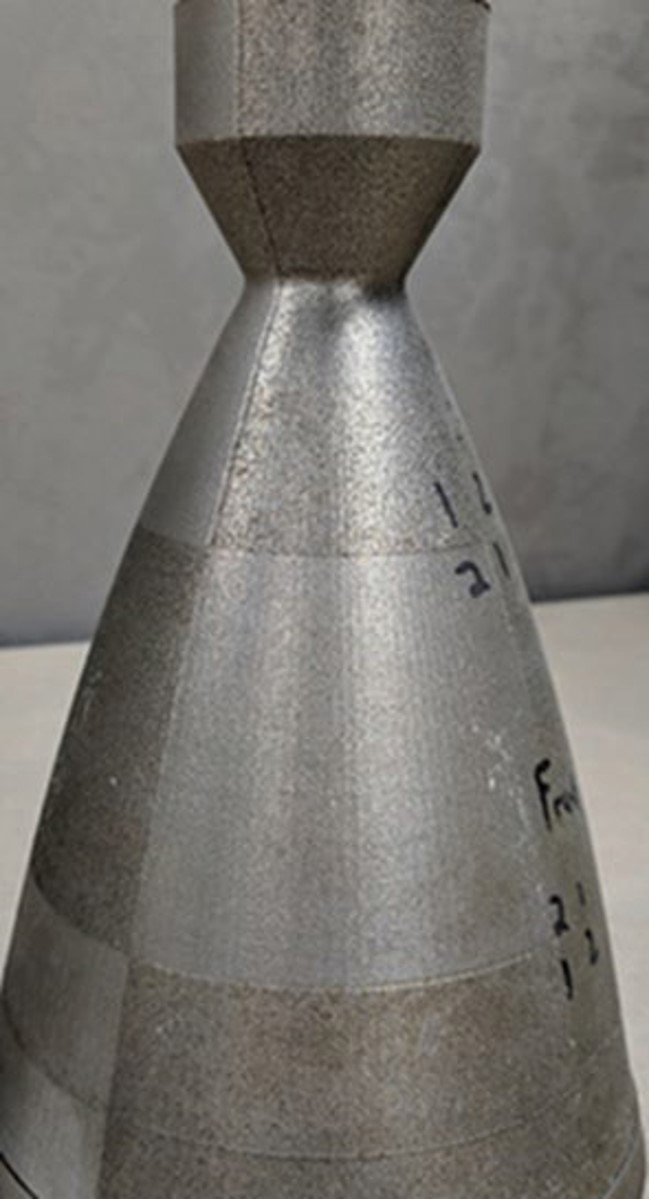


Rocket nozzle printed with multiple lasers, each utilizing the same parameters. Variance in surface finish between lasers is evident.
Problem
Components built using laser powder bed fusion (L-PBF) are prone to having heterogeneous surface roughness because of numerous process variables including feedstock, geometry, and printing parameters. This presents a challenge to potential users because surface roughness can affect part performance, particularly fatigue life, fluid flow, and corrosion. There is little consensus on what the correct measure for correlation between roughness and performance is and what the appropriate measurement method is. Common measurement techniques include touch profilometry, optical profilometry, and computed tomography (CT) scanning. Each of these techniques has its benefits and drawbacks but they all are typically done post-process, which is a time-consuming and expensive addition to the manufacturing process.
Objective
The objective of the project was to identify which additive manufacturing (AM) sensing modalities are best suited to quantify L-PBF surface roughness. Furthermore, the focus of this program was to use multiple different commercial in-process sensing modalities to collect data during the L-PBF process and to correlate this data with surface finish measurements. A major goal was to generate variations in surface characteristics using intrinsic and extrinsic methods. Another goal was to use extrinsic means to vary surface characteristics.
Technical Approach
The first step of the project was to build artifacts and collect data. To achieve this, the team designed artifacts that, when printed, could be easily measured according to surface roughness and predictable variance in surface finish. The development of a printing matrix was done to elicit changes in surface roughness because of the printing parameters. Artifacts were then printed according to the printing matrix on the Concept Laser M2 and Open Additive Panda machines equipped with numerous sensing modalities. Surface roughness characterization was done by quantifying the roughness of the printed artifacts as a function of the intrinsic and extrinsic variables regarding the measurements obtained.
Accomplishments
As a result of the project effort, the team was able to effectively examine the surface characteristics of several printed artifacts. This process allowed the team to discover several key findings. After examining the surface roughness data that was collected, it was observed that the build angle had the largest effect on the surface roughness of the artifacts. It was found that the factors concerning laser assignment, gas flow, laser thickness, and parameter assignment had little to no effect on surface roughness compared to the measured effects of the build angle. Through in-process sensing, it was discovered that no strong correlations existed between the team’s sensor data and the measured surface roughness. Stronger correlations were observed in the sensor response between the extrinsic and intrinsic parameters. The team determined that the commercial in-process sensing solutions utilized in this project did not offer a clear and readily distinct path to quantifying surface roughness on overhanging surfaces.
Project Participants
Project Principal

Other Project Participants
- Millat Industries
- Honda Aero
- Open Additive
- Northrop Grumman
Public Participants
- U.S. Department of Defense
